


Mastering Engineered Wood Flooring Installation: In-Depth Exploration of the Flooring Installation Process
Understanding Every Detail, Mastering the Art of Flooring Installation
Introduction: In home decoration, choosing the right flooring material is crucial. Engineered wood flooring has become the preferred choice for many households due to its durability, aesthetic appeal, and easy maintenance. This article will provide you with a comprehensive installation guide to help you start from scratch and complete the installation of engineered wood flooring step by step, rejuvenating the ambiance of your living space.
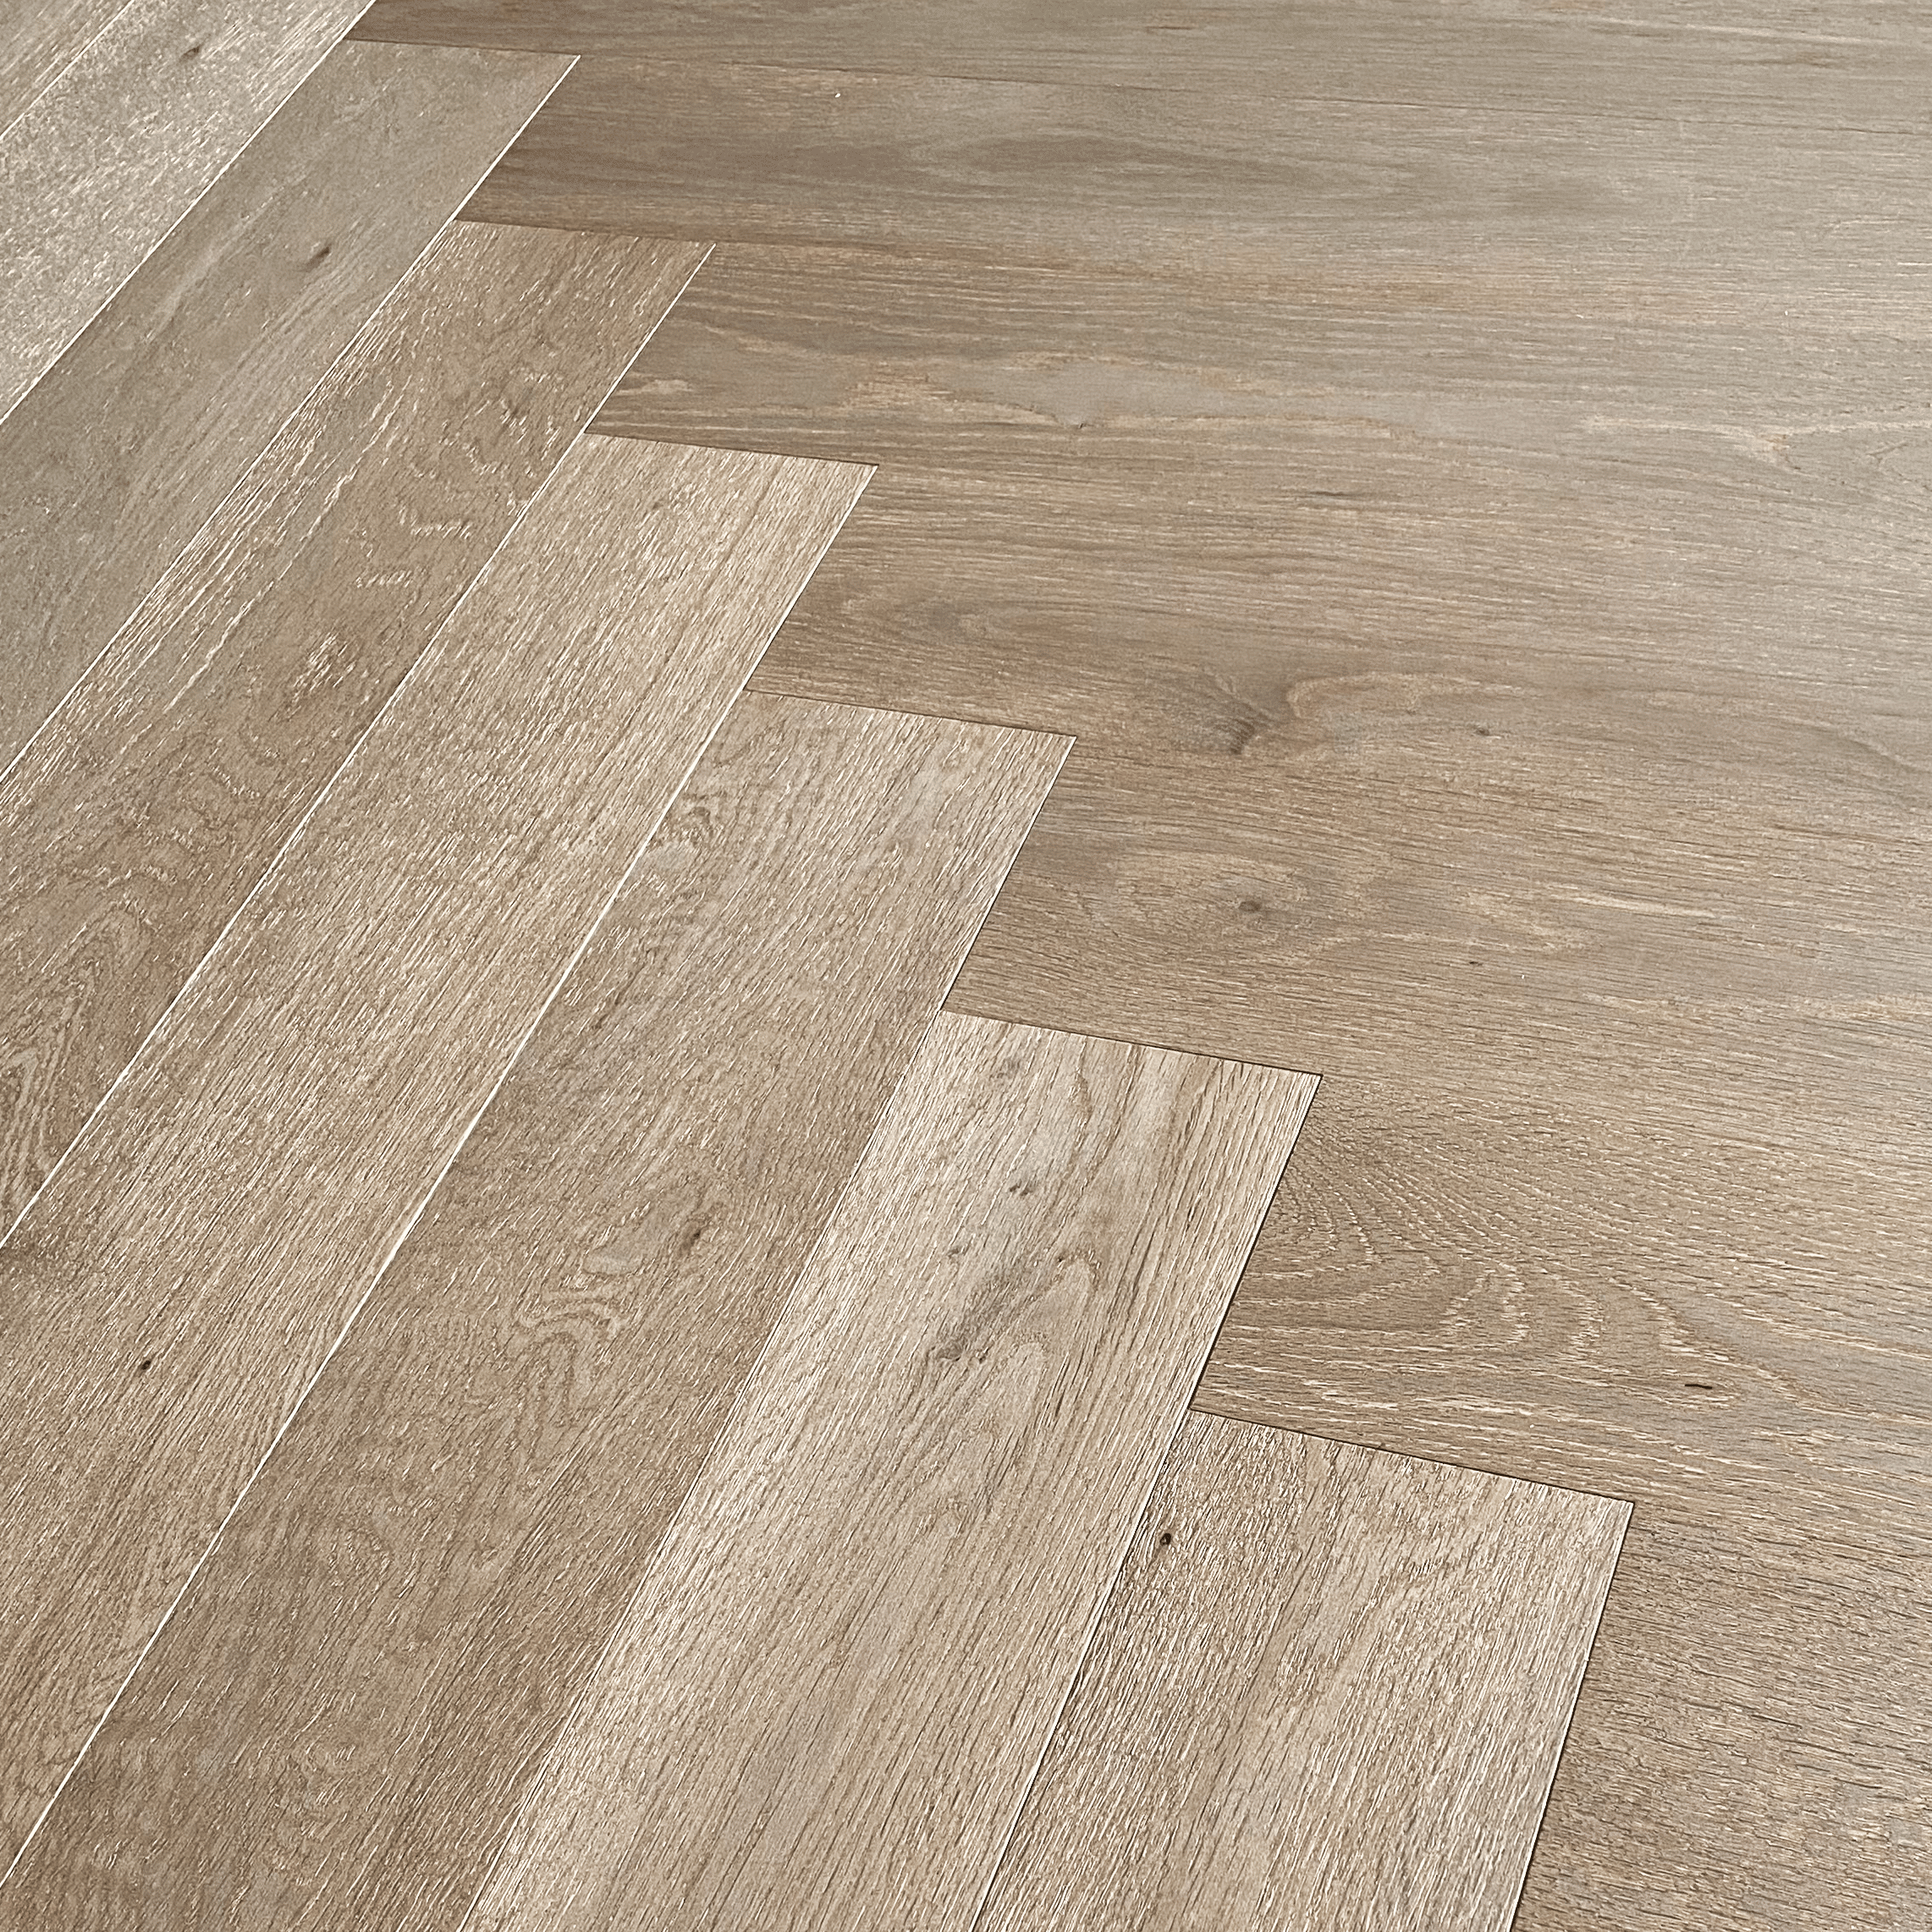
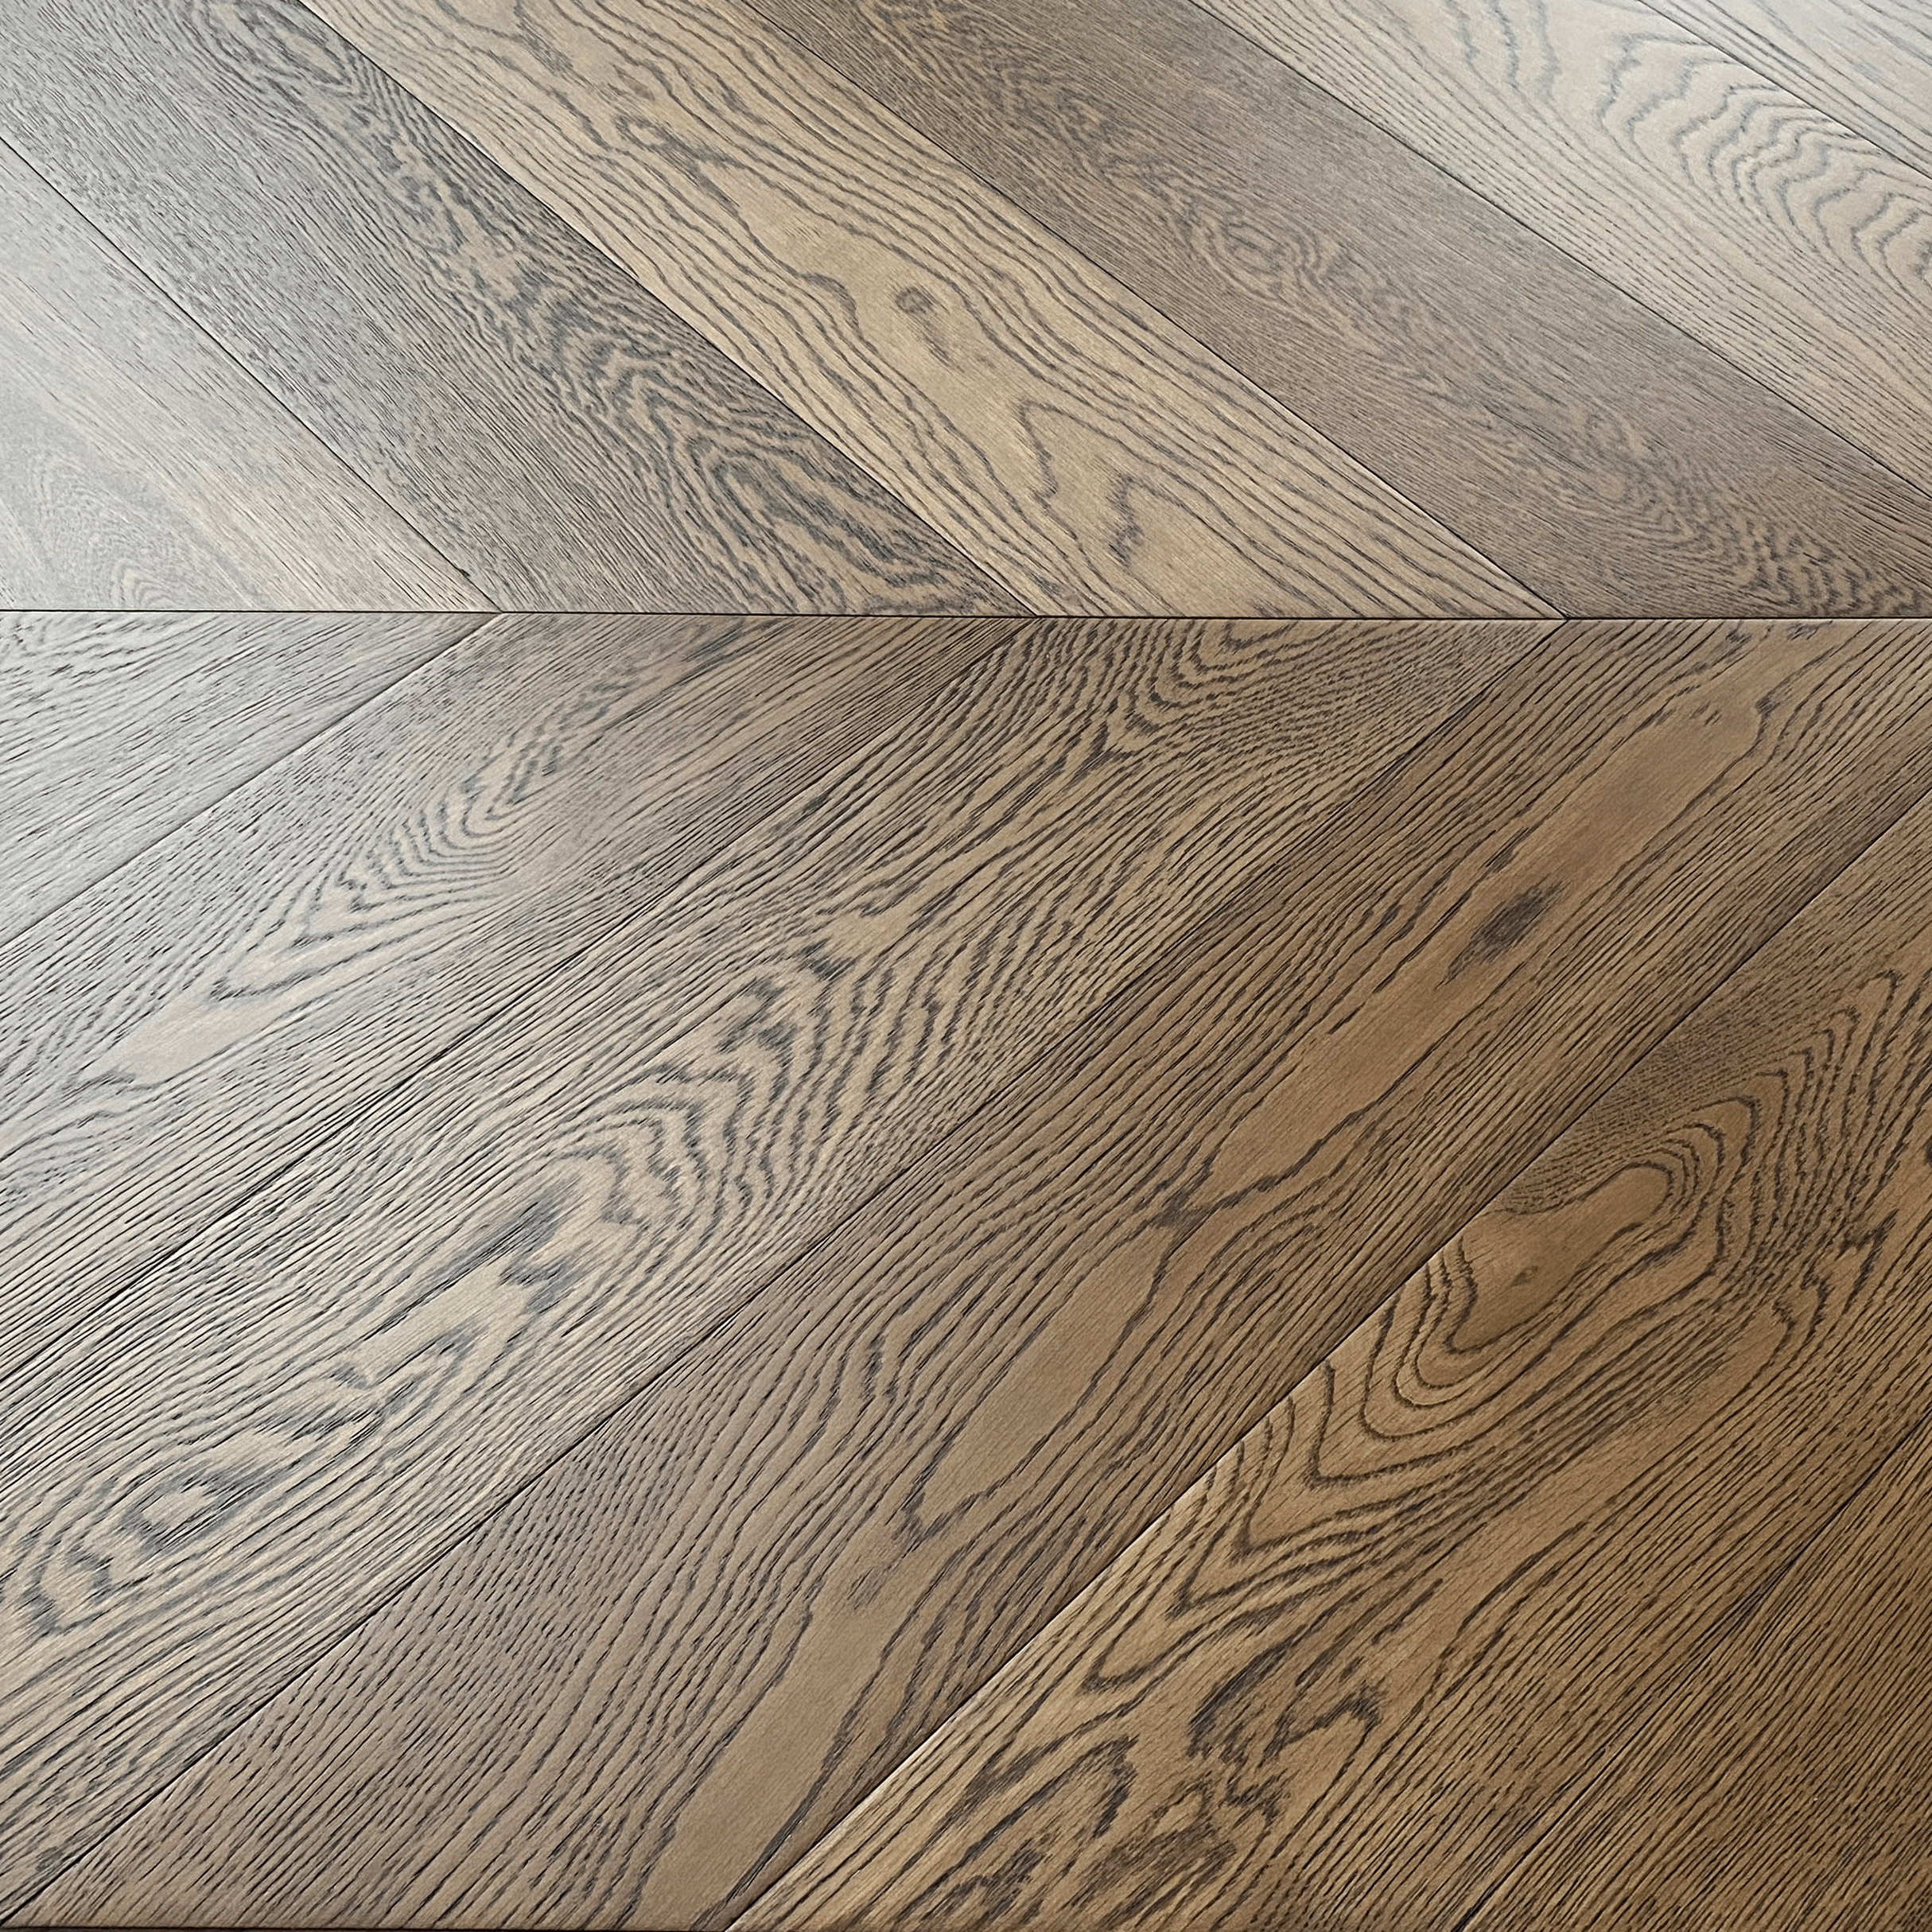
Overview of Engineered Wood Flooring Engineered wood flooring is a multi-layered structure typically composed of a solid wood surface layer of oak or other wood, a eucalyptus substrate, and a balancing layer. This design combines the natural beauty and stability of solid wood flooring while offering increased durability and resistance to deformation, making it an ideal choice for modern homes.

Preparation of Tools and Materials Before starting the installation, ensure you have the following tools and materials ready:
- Engineered wood flooring planks: Choose high-quality wood flooring materials.
- Flooring adhesive: Used to secure the flooring and enhance stability.
- Underlayment: Provides soundproofing and cushioning effects, protecting the flooring from moisture impact.
- Saw, hammer, ruler, pencil, tapping block: Used for cutting, installing, and adjusting the flooring.
- Quarter round molding: Used to cover the gap between the flooring and the wall, providing a visually appealing finish.
Floor Inspection and Preparation Before installing engineered wood flooring, ensure the floor is level, dry, and clean. Check for any uneven areas on the floor. If necessary, use self-leveling cement or underlayment to make adjustments to meet the installation requirements.
Layout Planning When determining the direction of the flooring installation, consider the overall design of the room and the lighting conditions. It is generally recommended to install the flooring parallel to the longest side of the room. Use a pencil to mark the starting point and direction of installation to ensure a more aesthetically pleasing result.
Installation of Underlayment Lay the specialized underlayment on the floor surface to provide soundproofing and cushioning effects, as well as to protect the flooring from moisture and temperature changes, extending the lifespan of the flooring.
Commencing Flooring Installation Start laying the engineered wood flooring from one corner of the room, aligning the long edge of the first plank with the wall, leaving an appropriate gap at the ends to accommodate wood expansion and contraction. Use a tapping block to tightly arrange the flooring, ensuring tight and even seams.
Cutting and Adjusting Depending on the size and shape of the room, cutting the flooring may be necessary to fit edges and corners. Carefully use a saw to make precise cuts, ensuring a smooth edge for accurate flooring installation.
Installation of Quarter Round Molding Installing quarter round molding is the final step of the flooring installation. It not only provides a visually appealing finish but also covers the gap between the flooring and the wall, preventing dust and debris accumulation and protecting the edges of the flooring from damage.
Final Adjustments and Inspection After completing the flooring installation, carefully inspect all seams and edges to ensure the flooring is securely installed without any loose or raised areas. Make necessary adjustments if needed to ensure a perfect overall installation.
Regular Maintenance and Care After completing the installation of engineered wood flooring, regular cleaning and maintenance are crucial. Use professional flooring cleaners and tools to clean the flooring regularly, avoid soaking with water, and prevent sharp objects from scratching the flooring surface to extend the lifespan of the flooring.
Conclusion: The installation of engineered wood flooring requires patience, attention to detail, and a certain level of skill. By following the correct installation steps and methods, even beginners can successfully complete the process. Through this detailed guide and recommendations, you can gain a better understanding of the engineered wood flooring installation process, bringing an elegant and comfortable atmosphere to your living space. May this guide provide valuable assistance for your flooring installation journey, allowing your home to shine with a new radiance.